


Creating a Deep Learning Environment with a TensorFlow GPU
Last Updated on January 7, 2023 by Editorial Team
Last Updated on February 11, 2021 by Editorial Team
Author(s): Buse Yaren Tekin
Deep Learning
Hi! In this article, we will talk about how we can create a deep learning environment for our machine. Before starting the article, I will give information about the operating system and graphics processor I use. So let’s start!
The machine I’m working with uses Windows 10 Pro as the operating system. If you want to learn the features of your graphics card, you can learn the features of your graphics card by typing dxdiag instead of searching.
⚙️OS: Windows 10 Pro
⚙️CUDA Toolkit: 10
⚙️cuDNN: 7.4
⚙️TensorFlow GPU: 1.14.0
⚙️Keras: 2.2.5
Step 1: Get Graphics Card Information
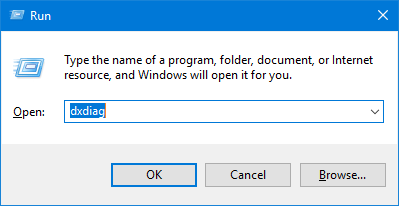
If you wish, you can learn this step in a short time by writing the code below to the terminal.
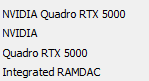
Then we need to go to NVIDIA’s website and make the necessary downloads. On the output, you will see the name of your graphics cards as in the next image.

Step 2: Checking the Graphics Processor
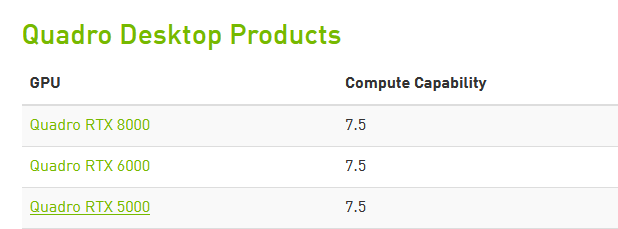
Determine your processor suitable for your machine at https://developer.nvidia.com/cuda-gpus#collapse4. For example, in the image below, we have learned the processing capacity by checking the processor of the machine I work actively.
Step 3: Installing CUDA Toolkit and cuDNN Tool
Now we need to act very carefully in this step. We will need to install the CUDA and cuDNN tool, which match the TensorFlow version we will use. I would like to warn you that if you download different versions, you will encounter many errors.

I had initially installed tensorflow-gpu==1.15.0 as I had a lot of conflict with TensorFlow 2.x versions. However, I then ran into several version conflicts while running Mask RCNN. In this article, I am here with the errors corrected. If you follow these steps exactly, your code will work without errors.
💎 The compilations required for tensorflow-gpu==1.14.0 show 7.4 for cuDNN and version 10 for the CUDA Toolkit.
To access cuDNN versions, go to the link.

👉You can download the selected versions by clicking the link.
After installing these tools, we need to add them to the path variable.
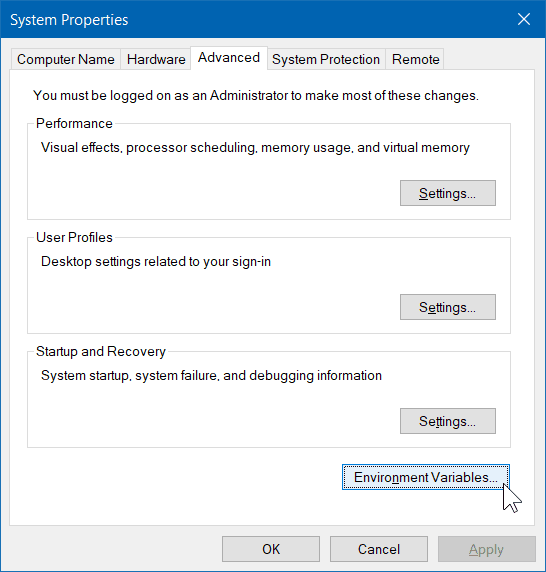

If it wasn’t added as a Path variable, you need to check these settings. Control of system environment variables is very important 🧷
Step 4: Creating Virtual Environment
Additionally, since I use Anaconda Prompt, I created virtual environments with conda. And then we got into that virtual environment with the activate command.
Step 5: Install Tensorflow-gpu
Then we go to tensorflow-gpu setup. At this stage, let’s take care to install with conda, not pip. The reason for this is that you get your approval while installing. We will also see the CUDA and cuDNN versions installed while giving this approval.
Step 5: cuDNN and CUDA File Exchanges ⛓
When we open the cuDNN archive we downloaded, we will see the following folders.
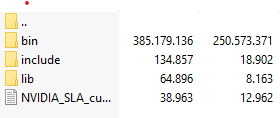
We copy these folders into the folders where CUDA is installed. For example, I copied it to the folder in C:Program FilesNVIDIA GPU Computing Toolkit CUDAv10.0.
After all these stages, TensorFlow GPU must be installed. If you wish, you can control the terminal with the following commands. For this, let’s not forget to write python to the terminal first!

In addition I want to make a warning. If you get a warning or error caused by the version of the Skimage library like me, run the following command.
🔮After all these stages, your deep learning environment will work without any problems! I wish you healthy and beautiful days.
REFERENCES
- https://en.wikipedia.org/wiki/DxDiag
- https://towardsdatascience.com/tensorflow-gpu-installation-made-easy-use-conda-instead-of-pip-52e5249374bc
- https://www.tensorflow.org/install/source_windows
- https://www.tensorflow.org/
- https://developer.nvidia.com/cuda-toolkit-archive
- https://www.architectryan.com/2018/08/31/how-to-change-environment-variables-on-windows-10/
Creating a Deep Learning Environment with TensorFlow GPU was originally published in Towards AI on Medium, where people are continuing the conversation by highlighting and responding to this story.
Published via Towards AI
Towards AI Academy
We Build Enterprise-Grade AI. We'll Teach You to Master It Too.
15 engineers. 100,000+ students. Towards AI Academy teaches what actually survives production.
Start free — no commitment:
→ 6-Day Agentic AI Engineering Email Guide — one practical lesson per day
→ Agents Architecture Cheatsheet — 3 years of architecture decisions in 6 pages
Our courses:
→ AI Engineering Certification — 90+ lessons from project selection to deployed product. The most comprehensive practical LLM course out there.
→ Agent Engineering Course — Hands on with production agent architectures, memory, routing, and eval frameworks — built from real enterprise engagements.
→ AI for Work — Understand, evaluate, and apply AI for complex work tasks.
Note: Article content contains the views of the contributing authors and not Towards AI.
Related posts


")
Recent Posts


")

