


Setting Up Your Qdrant Vector Database
Last Updated on April 30, 2024 by Editorial Team
Author(s): Harpreet Sahota
Originally published on Towards AI.
If you randomly ended up on this blog, let me give you a bit of context.
I’m writing a book on Retrieval Augmented Generation (RAG) for Wiley Publishing, and vector databases are an inescapable part of building a performant RAG system. I selected Qdrant as the vector database for my book and this series. Over the next several blogs, I’ll teach you everything you need to know to start working with the Qdrant vector database. In the first part of this series, you were introduced to vector databases and why they’re essential for building context-aware applications like RAG.
Now that you have a solid understanding of vector databases and Qdrant, it’s time to roll up your sleeves and get your hands dirty.
In this post, you’ll set up your development environment and start with Qdrant, the vector database you’ll use throughout this series. You’ll sign up for a Qdrant cloud account, install the necessary libraries, set up our environment variables, and instantiate a cluster — all the necessary steps to start building something. By the end of this post, you’ll have a fully functional Qdrant setup and be ready to experiment with vector embeddings and similarity searches.
Prepare Your Cloud Environment
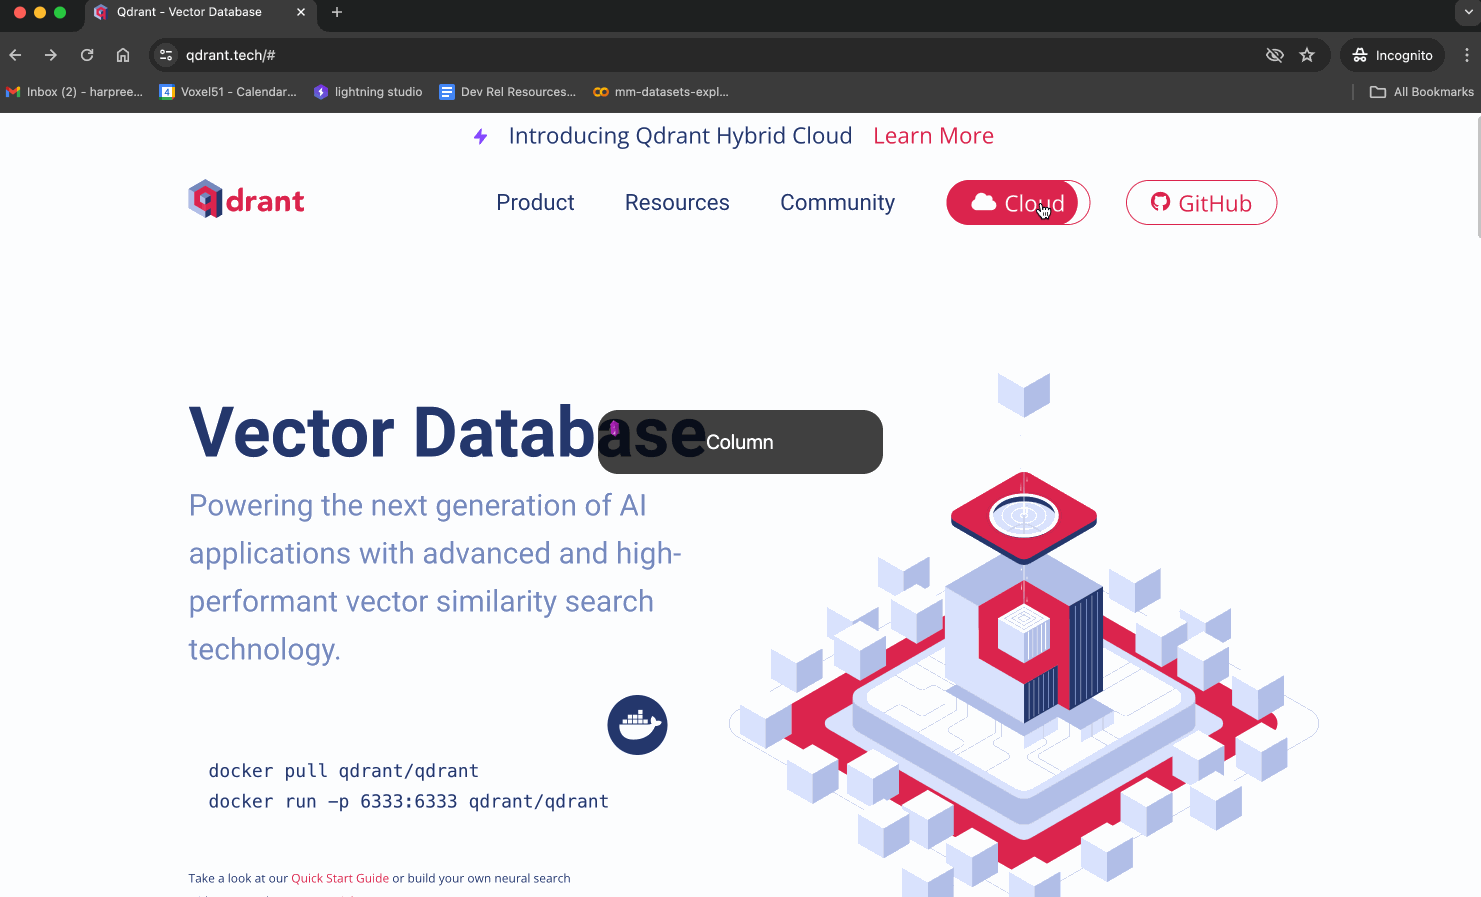
The easiest way to get started with Qdrant is by using their managed cloud service, Qdrant Cloud.
Of course, you can use Qdrant locally if you’d like. However, it will require you to set up Docker on your machine and be familiar with Docker containers. Check out the documentation to learn how to get set up locally. For this series and in my book, I will work strictly in the cloud.
To sign up for Qdrant Cloud:
1) Head over to the Qdrant Cloud website.
2) Click the “Cloud” button in the top right corner.
3) Fill in your details and create your account.
You don’t have to set up a paid account, as Qdrant offers a generous free tier perfect for development and testing. And, if you build a product using billions of vectors, Qdrant will scale smoothly.
Go and sign up for a cloud account.
You’ll need to create your cluster and get your API key.
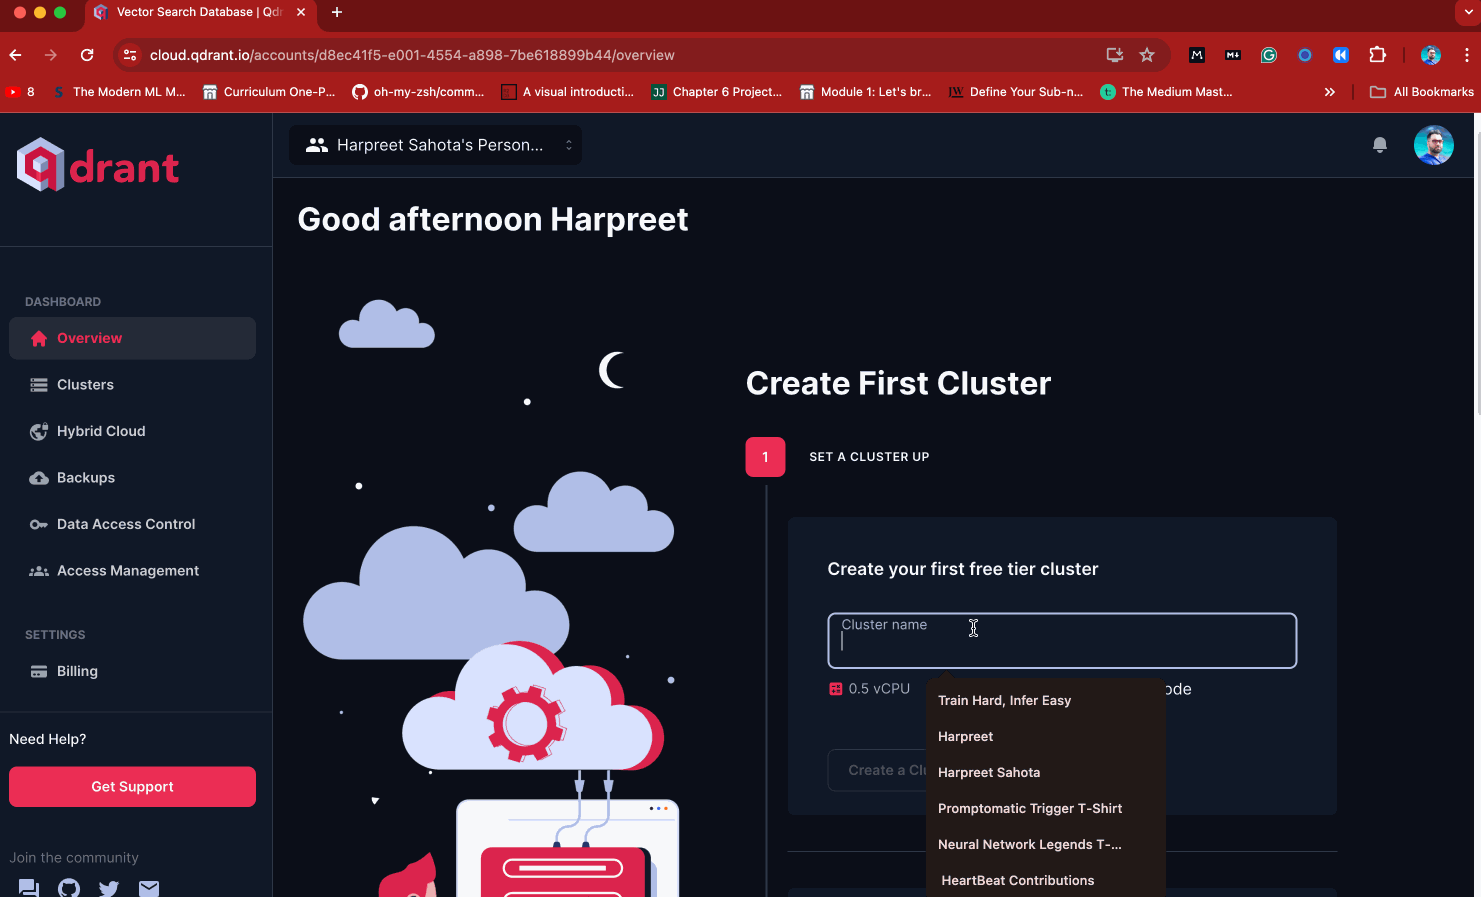
To set up a cluster:
• Locate the sidebar on the left-hand screen of the console console.
• Click on the “Clusters” menu item.
• Look for the “Create” button on the top right of the screen.
• Type in “Practical_Retrieval_Augmented_Generation” as your cluster name, then press “Create Cluster.”
- Once the cluster is created, you’ll see a red button that says, “Get API Key.” Press that button and copy your API key. Be sure to keep it somewhere safe.
You’ll also need your Cluster URL. You can get that by:
- Navigating to the Clusters item in the sidebar
- Clicking the right-facing carrot on your cluster name
- You can find it under “Cluster URL.” Copy that and keep it safe.
I recommend setting these as environment variables. You can do that by opening up your terminal and running the following (assuming you’re on Linux or MacOS):
export QDRANT_API_KEY=<your-api-key>
export QDRANT_URL=<your-qdrant-cloud-url>
I recommend keeping these in a .env file so you can easily load them into your notebooks and scripts. You can do that by running the following in your terminal:
echo "QDRANT_API_KEY=$QDRANT_API_KEY" >> .env && echo "QDRANT_URL=$QDRANT_URL" >> .env
Now, set up your development environment.
Prepare Your Development Environment
Create a Virtual Environment
It’s a best practice to create a virtual environment before installing libraries and working on a project. So, get that out of the way, then start installing some packages:
conda create -n p_rag python==3.10
Once that’s done, activate your environment:
conda activate p_rag
Install Dependencies
To interact with Qdrant using the Python sdk, you’ll need to install the Qdrant client library. In addition, at least for right now and at a bare minimum, you’ll also need to download:
There is no need for LangChain or LlamaIndex—yet. We won’t use them for the first several blogs in this series. This builds a deeper intuition for how data goes from its “natural” form to vectors and into a vector database. Any other requirements will be installed as needed.
Now, open your terminal and run the following commands. Be sure to use the same versions as I do.
pip install python-dotenv==1.0.1 qdrant-client==1.9.0 openai==1.23.6 transformers==4.40.1 sentence-transformers==2.7.0 datasets==2.19.0
Now, open up a Jupyter Notebook. It’s time to connect to your cluster programmatically and create your first collection.
Start with the immediately necessary imports:
import os
from dotenv import load_dotenv

from qdrant_client import QdrantClient

load_dotenv('./.env')
Now, instantiate the client.
client = QdrantClient(
 url=os.getenv('QDRANT_URL'),
 api_key=os.getenv('QDRANT_API_KEY')
)
Run the following code, and notice that our list of collections is empty—as it should be—because you haven’t created one yet.
client.get_collections()
WTF Is a Collection?
Before I have you create a collection, it’s gonna be useful for me to tell you what they are. A collection in Qdrant holds points. Points are the central entity in Qdrant, and they’re defined by:
- Vector: This represents the data (like an image, chunk of text, audio segment, video, etc.) as an array of floating-point numbers. Each vector has a unique identifier associated with it.
- Payload: Additional information about the data (basically metadata). This is just a JSON object.
Each point within a collection must have a vector of the same dimensionality and be compared using a single similarity metric. This allows you to search points in a collection based on vector similarity.
Before creating your collection, there are some design choices you need to make:
- Data type: What kind of data will you store? (For example, images, text, or both.)
- Vector size and distance metric: Vector size will depend on your chosen embedding model. The distance metric can be a dot product, cosine similarity, Euclidean distance, or Manhattan distance.
- What to put in the Payload: Decide what additional metadata you want to store with each vector.
Each collection has its own set of parameters that allow you to control how it is optimized, indexed, and stored. These settings can be changed anytime, and you don’t need to worry about them (at least for now). What you need to worry about right now is configuring your collection, defining the vector dimensionality, and defining the distance metric.
Over the next few blogs, you’ll work exclusively with text data. I’ll use OpenAI’s text-embedding-3-large embedding model, which has a default dimensionality of 3072. I’ll also use cosine similarity as the distance metric. This information will go into the vectors config.
from qdrant_client.http import models

collection_config = models.VectorParams(
 size=1536,
 distance=models.Distance.COSINE
)

client.create_collection(
 collection_name="p_rag_series_1",
 vectors_config=collection_config
)
Now, you can verify that the collection has been created by running:
client.get_collections()
# CollectionsResponse(collections=[CollectionDescription(name='p_rag_series_1')])
Or through the UI, as shown below.

Let’s go ahead and delete this collection just to demonstrate how.
client.delete_collection(collection_name="p_rag_series_1")
Now, go ahead and close the client down.
client.close()
I’m going to jump ahead of myself and briefly discuss two concepts:
1) Named vectors
2) Multitenancy
Named Vectors
A collection can store multiple vectors within the same collection, such as image and text vectors.
This is achieved using the concept of “named vectors.” When creating a collection, you can define multiple named vectors, each with its unique name, distance metric, and dimensionality. For example, you can have a named vector called “image” for storing image vectors and another named vector called “text” for storing text vectors.
Here’s the important thing to note:
- All vectors must have the same dimensionality within each named vector. So, all the vectors stored under the “image” named vector must have the same number of dimensions, and all the vectors stored under the “text” named vector must have the same number of dimensions.
- However, the dimensionality of the “image” and “text” vectors can differ. For instance, the “image” vectors might have a dimensionality of 512, while the “text” vectors might have a dimensionality of 768.
- Each named vector can also have its distance metric. So, you can use a different distance metric to compare image and text vectors.
Multitenancy
Imagine you have an apartment building (your Qdrant instance) with many tenants (users). Multitenancy is like having a single, shared laundry room (a collection) instead of each tenant having their washer and dryer (separate collections).
Multitenancy in Qdrant means storing data for multiple tenants or users within a single collection.
In most cases, you should use a single collection for all tenants, which is efficient but requires additional configuration. This involves partitioning vectors by adding a tenant-specific field (e.g., group_id) to each vector’s payload. To ensure data isolation, you need to filter vectors based on the tenant ID when performing searches or updates. This way, each tenant can only access their data. Extending the laundry room analogy above means you’re not mixing up people's undies.
We won’t deal with multitenancy in this series, but at least you know it's a thing.
The alternative approach is creating separate collections for each tenant.
This will ensure strict data isolation and flexibility, especially when dealing with a limited number of users. By assigning a dedicated collection to each tenant, their data remains completely segregated, preventing any interference or unauthorized access between tenants.
However, this approach comes with potential drawbacks.
As the number of tenants increases, managing multiple collections can lead to higher resource overhead and costs than using a single collection for all tenants. The administrative effort required to maintain and monitor numerous collections becomes more complex and time-consuming.
This likely isn’t the most efficient or scalable solution for many tenants. In such cases, using a single collection with proper partitioning and access controls is often more manageable and cost-effective.
See You In The Next Blog
In the next blog, you’ll learn how to convert real-world text data to vectors and populate your Qdrant collection with vectors so you can search over them.
Be sure to keep in touch.
Join thousands of data leaders on the AI newsletter. Join over 80,000 subscribers and keep up to date with the latest developments in AI. From research to projects and ideas. If you are building an AI startup, an AI-related product, or a service, we invite you to consider becoming a sponsor.
Published via Towards AI
Related posts


Popular posts

 for 2021")


Updates

Recent Posts


