Labeling Cells with napari and Python: A Step-by-Step Guide for BioImage Analysis
Last Updated on August 29, 2025 by Editorial Team
Author(s): MicroBioscopicData (by Alexandros Athanasopoulos)
Originally published on Towards AI.
Labeling Cells with napari and Python: A Step-by-Step Guide for BioImage Analysis
In this tutorial, we will go through a step-by-step guide on how to label cells using napari, an interactive multi-dimensional image viewer for Python, ideal for microscopy data. This hands-on guide is designed for biologists, data scientists, and image analysts, and will cover everything we need to know — from loading microscopy images into Python, to navigating napari’s labeling tools, and finally saving our labeled images in structured folders for downstream analysis or machine/deep learning.

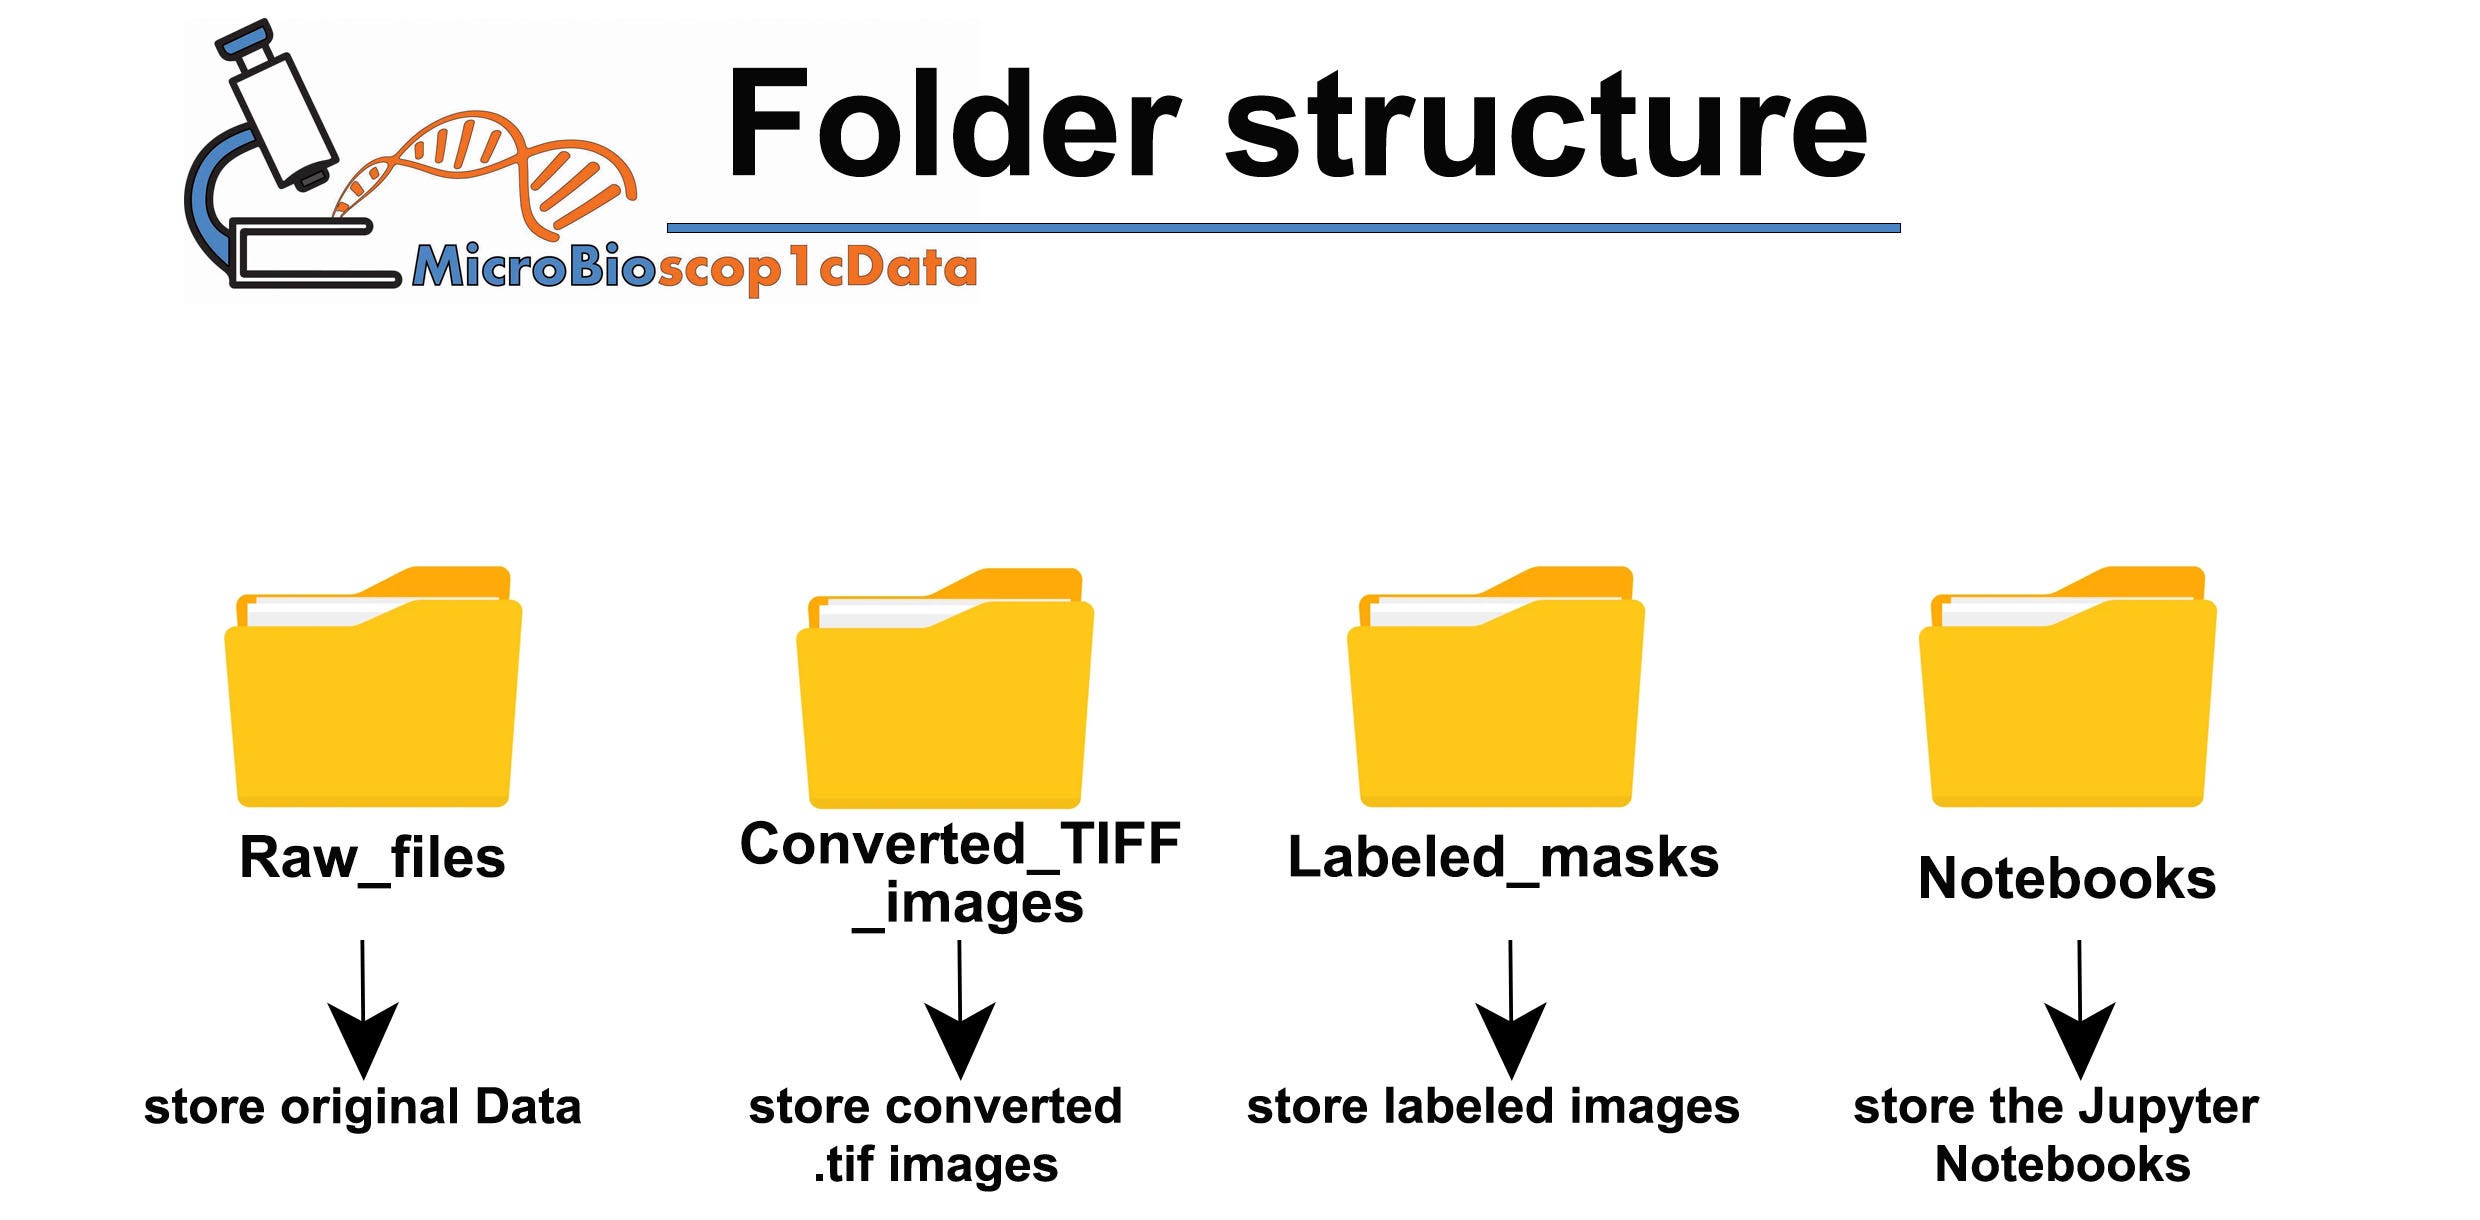
This article provides a detailed tutorial on using napari and Python for labeling cells in microscopy images. It covers folder structuring for image organization, loading and visualizing images, creating label layers, and exporting these labels. The tutorial is designed to be beginner-friendly while requiring a basic understanding of Python and microscopy concepts, with practical examples demonstrating how to annotate structures within the images and manage labeled datasets effectively for future image analysis.
Read the full blog for free on Medium.
Join thousands of data leaders on the AI newsletter. Join over 80,000 subscribers and keep up to date with the latest developments in AI. From research to projects and ideas. If you are building an AI startup, an AI-related product, or a service, we invite you to consider becoming a sponsor.
Published via Towards AI


