Custom Object Detection using EfficientDet- The Simplest way
Last Updated on July 20, 2023 by Editorial Team
Author(s): Akula Hemanth Kumar
Originally published on Towards AI.

In this article, I am going to show you how to create your custom object detector using Monk’s EfficientDet.
I am assuming that you already know pretty basics of deep learning computer vision. Before diving into it, make sure you know what’s object detection, what’s transfer learning, and some other deep learning terms.
If you don’t know about all these, It’s time to go back and learn the basics and then come back to this post. Of course, you can do all this stuff without any knowledge using Monk but it’s perfect to have your basics clear. I will put some learning resources in the last section of this post.
Table of contents
- Data Gathering
- Convert to COCO format
- Training model
- Testing object detector
Data Gathering
In this article, we are using data from Exclusively-Dark-Image-Dataset.
wget http://web.fsktm.um.edu.my/~cschan/source/CVIU/ExDark.zipwget --no-check-certificate 'https://docs.google.com/uc?export=download&id=1FfEuDUdRbOFTtL8GioPceFghshMvfX7S' -O ExDark_Annno.zip
Convert to COCO format
The current format of downloaded data is
Dataset Directory Structure
Dark (root_dir)
 U+007C
 U+007C------Images (img_dir)
 U+007C U+007C
 U+007C U+007C----Bicycle
 U+007C U+007C
 U+007C U+007C---------img1.jpg
 U+007C U+007C---------img2.jpg
 U+007C U+007C---------..........(and so on)
 U+007C
 U+007C U+007C-----Boat
 U+007C U+007C
 U+007C U+007C---------img1.jpg
 U+007C U+007C---------img2.jpg
 U+007C U+007C---------..........(and so on)
 U+007C
 U+007C U+007C-----...........(and so on)
 U+007C
 U+007C
 U+007C
 U+007C------Annotations (anno_dir)
 U+007C U+007C
 U+007C U+007C----Bicycle
 U+007C U+007C
 U+007C U+007C---------img1.jpg.txt
 U+007C U+007C---------img2.jpg.txt
 U+007C U+007C---------..........(and so on)
 U+007C
 U+007C U+007C-----Boat
 U+007C U+007C
 U+007C U+007C---------img1.jpg.txt
 U+007C U+007C---------img2.jpg.txt
 U+007C U+007C---------..........(and so on)
 U+007C
 U+007C U+007C------............(and so on)
Here we Convert to COCO format via Monk format
- Convert from the current format to Monk format
Monk Format
Dataset Directory Structure
Dark (root)
 U+007C
 U+007C------Images (img_dir)
 U+007C U+007C
 U+007C U+007C----Bicycle
 U+007C U+007C
 U+007C U+007C---------img1.jpg
 U+007C U+007C---------img2.jpg
 U+007C U+007C---------..........(and so on)
 U+007C
 U+007C U+007C-----Boat
 U+007C U+007C
 U+007C U+007C---------img1.jpg
 U+007C U+007C---------img2.jpg
 U+007C U+007C---------..........(and so on)
 U+007C
 U+007C U+007C-----...........(and so on)
 U+007C
 U+007C
 U+007C------train_labels.csv (anno_file)
Annotation file format
U+007C Id U+007C Labels U+007C
U+007C img1.jpg U+007C x1 y1 x2 y2 label1 x1 y1 x2 y2 label2 U+007C
- Labels: xmin ymin xmax ymax label
- xmin, ymin — top left corner of bounding box
COCO Format
Dataset Directory Structure
./ (root_dir)
 U+007C
 U+007C------Dark (coco_dir)
 U+007C
 U+007C------Images (set_dir)
 U+007C U+007C
 U+007C U+007C----Bicycle
 U+007C U+007C
 U+007C U+007C---------img1.jpg
 U+007C U+007C---------img2.jpg
 U+007C U+007C---------..........(and so on)
 U+007C
 U+007C U+007C-----Boat
 U+007C U+007C
 U+007C U+007C---------img1.jpg
 U+007C U+007C---------img2.jpg
 U+007C U+007C---------..........(and so on)
 U+007C
 U+007C U+007C-----...........(and so on)
 U+007C
 U+007C
 U+007C
 U+007C------annotations
 U+007C----------U+007C
 U+007C--------------------instances_Images.json (instances_<set_dir>.json)
 U+007C--------------------classes.txt
- instances_Train.json -> In proper COCO format
- classes.txt -> A list of classes in alphabetical order
For TrainSet
- root_dir = “./”;
- coco_dir = “Dark”;
- img_dir = “./”;
- set_dir = “Images”;
Note: Annotation file name too coincides against the set_dir
Annotations folder contain two files classes.txt, instances_Images.json
2. Convert from Monk format to COCO format.
To get classes.txt run
For instances_Images.json run
Training model
In Training choose the appropriate batch size, learning rate, set path to directories. You can also train on multiple GPUs.For example, if you are using 2 GPU change line8 to gtf.model( gpu_devices=[0,1])
Testing object detector
After training the model, we can get the weights file in the trained folder.
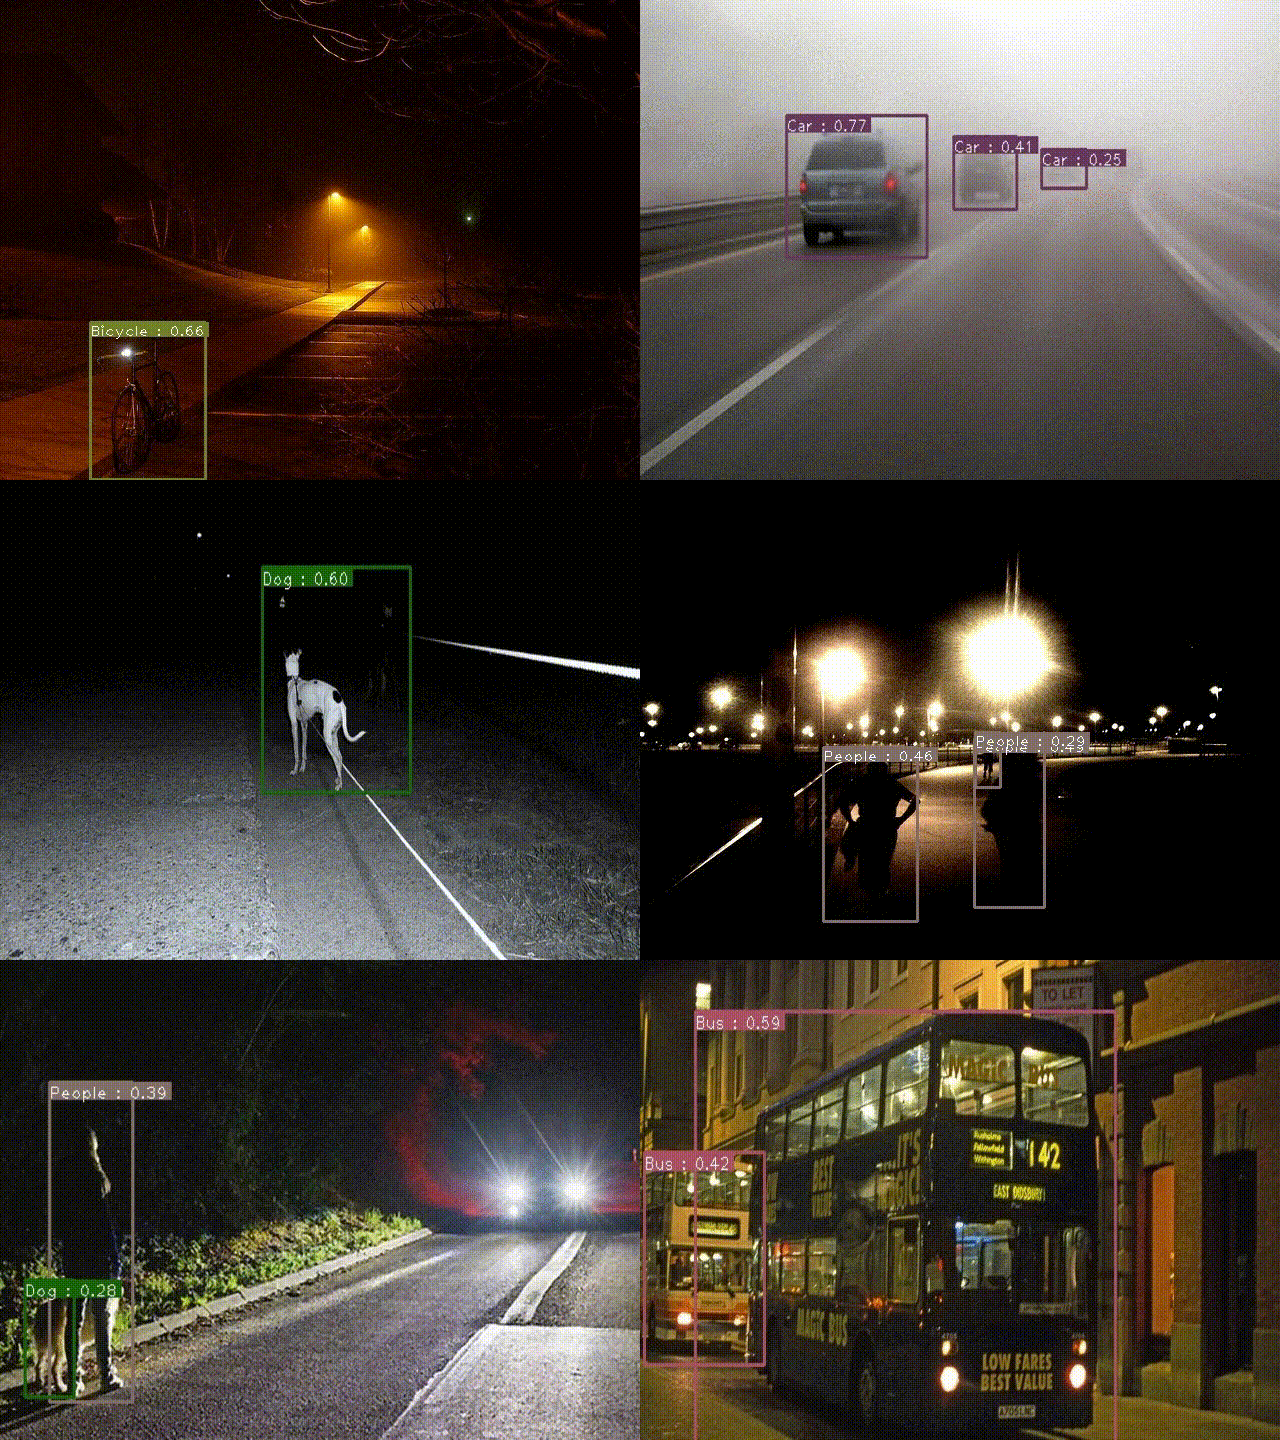
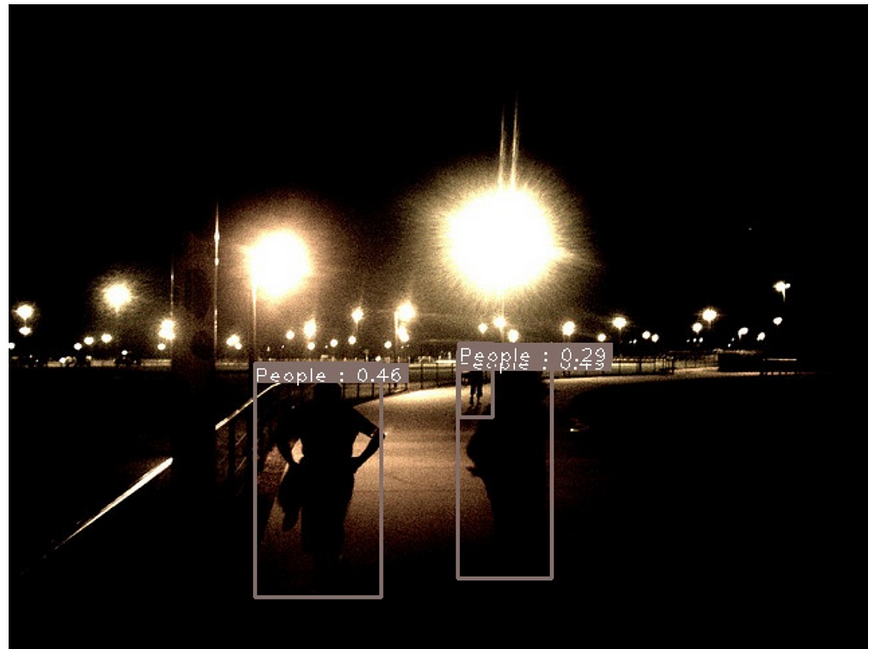
Some of the image inferences you can see below:


You can find the complete code on Github.
If you have any questions, you can reach Abhishek and Akash. Feel free to reach out to them.
“Thank You”
References and Credit
- Paper on EfficientDet
- https://github.com/signatrix/efficientdet
- EfficientDet Blog
- https://medium.com/analytics-vidhya/custom-object-detection-with-yolov3-8f72fe8ced79

Join thousands of data leaders on the AI newsletter. Join over 80,000 subscribers and keep up to date with the latest developments in AI. From research to projects and ideas. If you are building an AI startup, an AI-related product, or a service, we invite you to consider becoming a sponsor.
Published via Towards AI
Take our 90+ lesson From Beginner to Advanced LLM Developer Certification: From choosing a project to deploying a working product this is the most comprehensive and practical LLM course out there!
Towards AI has published Building LLMs for Production—our 470+ page guide to mastering LLMs with practical projects and expert insights!

Discover Your Dream AI Career at Towards AI Jobs
Towards AI has built a jobs board tailored specifically to Machine Learning and Data Science Jobs and Skills. Our software searches for live AI jobs each hour, labels and categorises them and makes them easily searchable. Explore over 40,000 live jobs today with Towards AI Jobs!
Note: Content contains the views of the contributing authors and not Towards AI.


